
How to Remove Wallpaper Without Damaging Walls
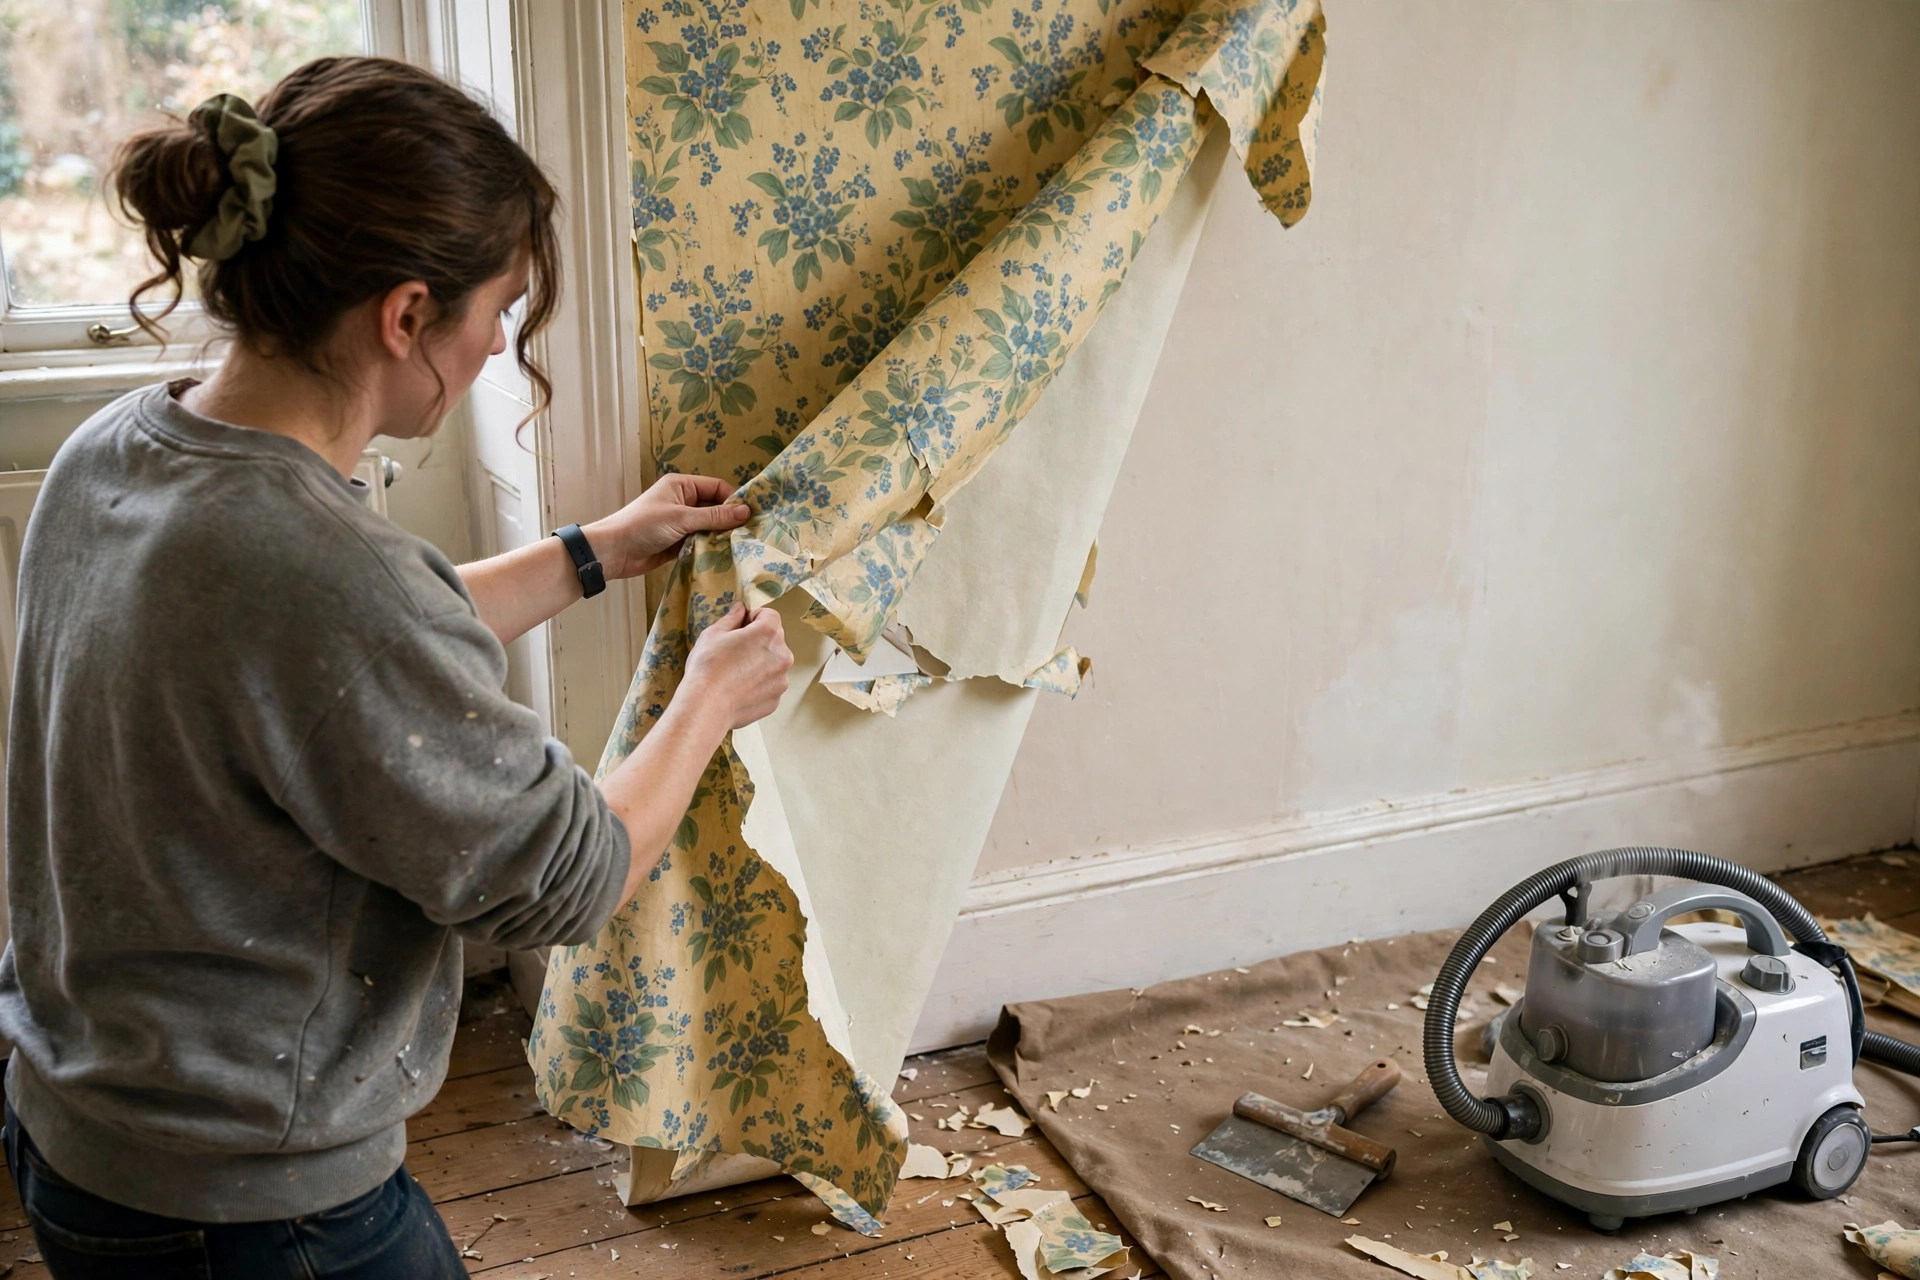
Most wallpaper comes off a wall without a fight, until it does not. The paper tears in strips the width of a finger, the backing stays glued to the plaster, a corner of plasterboard paper peels away with the top layer, and a wall that was meant to be painted by the weekend suddenly needs filling, drying and a second coat of patience. The damage is rarely caused by force. It is caused by using the wrong method for the paper in front of you, or by rushing a wall that was never soaked properly in the first place.
The short answer is this: work out what type of wallpaper you have, match the method to that type, work in small sections, and let water or steam do the work before the scraper does. A wide, flexible scraper used flat against the wall, with the paste fully softened, will lift paper cleanly. A sharp scraper dug into dry paper will gouge plaster every time. This guide follows that order. It covers identifying the paper, the three main removal methods, the slow case of woodchip, how to protect plaster and plasterboard, how to deal with the paste layer that is left behind, and how to repair and prepare the wall so paint goes on properly afterwards.
Before you start, clear the room as far as you can, take pictures and curtain rails off the wall, and cover the floor with dust sheets taped at the skirting board. Switch off the electricity to any sockets or switches on the wall you are stripping, and keep water and steam away from them. You will need a wide wallpaper scraper, a smaller flexible scraper for corners, a bucket, a sponge or spray bottle, a scoring tool for vinyl papers, and a wallpaper steamer if the paper is stubborn. A steamer costs about £25 to £45 to buy according to UK cost guides, which is often cheaper than hiring one for a whole room. If you would rather not do it yourself, professional wallpaper removal typically costs about £300 to £600 per room according to MyJobQuote’s guide dated 6 October 2026, with decorator day rates of about £150 to £250. Those are indicative ranges only, not a quote for your room, and the price rises with extra layers, painted-over paper and plaster repairs.
Work Out Your Wallpaper Type First
Everything else in this guide depends on this step, and it takes about five minutes. Find a loose corner, usually at a skirting board, a door frame or behind a radiator, and try to peel a strip. How the paper behaves tells you what it is and what it needs.
Peelable or strippable wallpaper is the easy case. The top layer, and sometimes the whole sheet, lifts away in long strips with a steady pull, leaving little or no backing on the wall. Modern strippable papers are made for this. If yours lifts like this, you may need no water or steam at all, just patience and a scraper for the stubborn edges.
Traditional paper, often found in older UK homes, is a single layer of printed paper pasted directly to the wall. It tears easily when dry, soaks through quickly when wet, and usually comes off well with a sponge or spray bottle and a scraper. If the paper is thin, tears in small pieces and darkens evenly when you wet a test patch, it is probably traditional paper.
Vinyl wallpaper has a plastic-feeling, wipe-clean surface. Water will sit on it rather than soak in, which is why so many people conclude, wrongly, that vinyl cannot be stripped. Under the vinyl face there is usually a paper backing that will soak and release, but only once the vinyl face is removed or scored. If the surface feels smooth and plasticky, and a wet test patch stays dry, treat it as vinyl.
Washable wallpaper sits between the two. It has a thin protective coating that slows water down but does not block it completely. A test patch will darken slowly rather than immediately. It usually responds to soaking, given more time, or to light scoring followed by soaking.
Woodchip is unmistakable once you know it: a rough, textured surface made of small wood chips pressed between two layers of paper. It is thick, heavy and slow to soak, and it often hides several layers of paint. It gets its own section below, because it punishes every shortcut that works on ordinary paper.
Finally, check for layers. Homes are often papered over paper, sometimes three or four times, and painted-over paper is common too. Peel back a corner and count the layers. Each layer has to be softened in turn. If you find a textured coating that could be Artex or a similar pre-2000 finish, stop and get it tested for asbestos before you scrape or sand it. Asbestos was used in some textured coatings until 1999, and disturbing it without advice is not worth the risk.
A quick test on a small, hidden patch saves an afternoon. Wet the patch, wait ten minutes, and try the scraper. If the paper lifts cleanly, you have your method. If it tears, or the scraper skates over a dry surface, you need more soaking, scoring or steam, not more force.
Method by Type: Soak, Score and Soak, or Steam
Work in sections about one metre wide, from the top of the wall downwards, and finish one section before you start the next. Paper that is allowed to dry out halfway through is paper you will have to soak twice.
For peelable paper, start at a bottom corner and pull slowly upwards at a low angle, keeping the strip as wide as possible. A steady pull beats a sharp tug, because a sharp tug snaps the strip and leaves a ragged edge that is harder to restart. Use the wide scraper flat against the wall for any backing that remains, and keep the blade angle low. A blade held at a steep angle digs in. A blade held almost flat slides under the paper.
For traditional paper, the soak method is usually enough. Spray or sponge the section with warm water, with a small amount of washing-up liquid or a purpose-made stripping solution if you like, and wait ten to fifteen minutes. The water needs time to reach the paste, which is the glue layer between the paper and the wall. Test with the scraper. If the paper lifts in sheets, carry on. If it still tears, soak it again and wait longer. Work the scraper in the direction of the wall, not into it, and re-wet any area that starts to dry. Two light soaks beat one heavy soak that runs down the wall and soaks the skirting board.
For vinyl and washable papers, score and soak. The vinyl face has to be dealt with first, because water cannot pass through it to reach the paste. Peel the vinyl face away where you can, starting at a corner. Where it will not peel, run a scoring tool lightly over the surface to make small perforations, then soak as above. The key word is lightly. Scoring is meant to let water through the vinyl face, not to cut into the plaster underneath. Press hard enough to break the surface and no harder, keep the tool moving in overlapping passes rather than gouging one spot, and test a small area first. Once the backing is wet through, it usually lifts with the scraper in the same way as traditional paper.
For stubborn paper of any type, and for paper that has been painted over, use a steamer. Hold the steam plate flat against the wall for about ten to fifteen seconds, lift it, and scrape the softened section immediately while the paste is still hot and loose. Move the plate along the wall in a steady rhythm: steam, scrape, steam, scrape. Do not leave the plate in one place for a minute at a time, and do not steam plasterboard for long periods, for reasons covered in the next-but-one section. A steamer is faster than soaking on difficult paper, but it produces a lot of condensation, so ventilate the room, protect the floor well, and let the wall dry fully afterwards. Keep the steamer away from sockets and switches, and never steam a wall with the power on to that circuit.
Whichever method you use, the rule is the same: if the paper is resisting, it is not wet or hot enough yet. Stop, re-soak or re-steam, and try again. Force is what damages walls. Patience is what saves them.
Woodchip: The Slow Case
Woodchip deserves a warning of its own, because it is the paper most likely to turn a weekend job into a week-long one. It is thick, it holds paint in its texture, and water takes a long time to get through it to the paste. Many people give up on soaking, reach for a powered scraper or a belt sander, and damage the plaster underneath. Do not do that.
Start by scoring the painted surface lightly, as with vinyl, to give water a way in. Then soak generously, in two or three passes, and give it far longer than ordinary paper: twenty to thirty minutes, re-wetting as it dries. A steamer helps here, because heat and moisture together soften the many layers of paint and paste, but the same rhythm applies: steam a section, scrape it while it is soft, and move on. Expect woodchip to come off in small, heavy pieces rather than long strips, and expect to fill small dents afterwards. That is normal, not a failure of technique.
Budget your time honestly. A single woodchip wall can take as long as a whole room of ordinary paper. If the room is fully woodchipped, including the ceiling, and you are on a deadline, that is a reasonable point to get a decorator’s quote. The UK guides quoted earlier put professional removal at about £300 to £600 per room, and woodchip sits at the upper end of that range because of the time it takes. Paying for a day of a professional’s time is cheaper than paying for a plasterer to repair a wall that has been gouged by an impatient powered scraper.
One more woodchip caution: if the textured surface could be an asbestos-containing coating rather than ordinary woodchip paper, get it tested first, as noted above. A test costs far less than the risk of disturbing asbestos, and a laboratory result removes the guesswork.
Protecting Plaster and Plasterboard
Plaster and plasterboard fail in different ways, so they need different care. Knowing which wall you have helps you judge how much water and steam it can take.
Solid plaster on brick, common in older UK homes, is fairly forgiving. It can take a good soaking, and it dries out again. Its weak points are loose or blown areas, where the plaster has already separated from the brick, and old repairs. If a section sounds hollow when you tap it, or the plaster moves under the scraper, stop and leave that patch for repair rather than stripping it bare. Forcing paper off blown plaster pulls the plaster off with it, and turns a decorating job into a plastering job.
Plasterboard, common in newer homes and in stud walls, is far less forgiving. Its surface is a paper face over a gypsum core, and that paper face is what your paint or new paper sticks to. If you peel the wallpaper and the plasterboard paper face comes with it, you are left with exposed gypsum that soaks up paint unevenly and needs sealing before it can be decorated. The risk is highest with strippable papers pulled too fast, and with steam left too long in one place, which softens the plasterboard face. On plasterboard, favour soaking over steaming where you can, keep the steamer moving, pull strips slowly at a low angle, and use the scraper flat. If the plasterboard face does tear, do not panic: let it dry, seal the torn area with a suitable primer or sealer, fill any rough edges, and sand lightly once dry.
Lath and plaster walls in period homes need the gentlest approach of all. The plaster is held by wooden laths, and heavy soaking can soften it and loosen its key, the plaster that grips between the laths. Soak lightly, work in small sections, and if large areas sound hollow or move, get a plasterer’s opinion before you strip further. The same caution applies to lime plaster in older properties, which needs to breathe: avoid sealing it with modern vinyl paints or non-breathable fillers afterwards, and ask a lime-aware plasterer if you are unsure.
Around the edges of the job, protect the details that are easy to damage and expensive to replace. Keep the scraper away from coving and ceiling roses, work carefully around door frames and skirting boards where paper is often glued hard, and do not lever against window frames. A plastic scraper is worth using near painted woodwork, because a metal blade will mark it in one slip.
If a patch of plaster does come away, the repair is covered in the final section. Small damage is a normal part of stripping, even when done carefully. Large damage, a whole section of plaster on the floor, is a sign to stop and reassess the method, not to carry on faster.
Dealing With the Paste Layer
Removing the paper is only half the job. What is left on the wall is a thin layer of paste, and painting over it is one of the commonest causes of peeling paint, bubbling and patchy finishes. Paste is water-soluble, so it can be washed off, but it needs the same patience as the paper did.
Once the paper is off, wash the whole wall with warm water and a sponge, working from the top down and changing the water often. You will feel the paste as a slippery, slightly sticky film under the sponge. Keep washing until the wall feels clean and the sponge no longer drags. A final wipe with a clean sponge and fresh water, followed by a wash with a sugar soap solution if the wall is grubby, leaves a surface paint can grip. Sugar soap is a standard pre-paint cleaner, available at any DIY shop, and it also helps remove grease and nicotine staining.
Check your work by letting the wall dry and running a hand over it. Paste that is still present dries to a shiny, slightly tacky patch, and it shows up clearly in raking light from a window. If you find patches, wash them again. It is far easier to wash paste off now than to strip peeling paint off later.
Let the wall dry fully before you do anything else. A wall that has been soaked and steamed can take 24 to 48 hours to dry, longer in winter or in a poorly ventilated room. Painting a damp wall traps moisture, which leads to blistering paint and, in the worst case, mould growth behind the new finish. If the wall smells musty or shows dark patches that do not wash away, check for damp before you paint. Our guide to types of damp in a house explains how to tell condensation, rising damp and penetrating damp apart, because each needs a different fix, and none of them is fixed by paint alone.
Dispose of the waste as you go. Bag the stripped paper while it is damp, because dry paper dust gets everywhere, and wipe the floor before the paste dries on it. Old paste on a wooden floor is stubborn to remove once it has set.
Repair and Prep for Paint
With the paper and paste gone, the wall is ready for honest assessment. Work in good light, ideally daylight from a window held at an angle to the wall, and mark every defect you find with a small piece of masking tape. Small holes, scraper nicks and hairline cracks are filled with a ready-mixed filler, applied with a flexible filling knife, left to dry, and sanded smooth. Deeper holes need two applications, because filler shrinks as it dries, and the second coat fills the dip left by the first.
For torn plasterboard paper, seal the torn area first with a primer or sealer made for the job, then fill the rough edge and sand lightly when dry. Sealing stops the gypsum core from soaking up paint and filler unevenly, which is what causes patchy finishes on repaired plasterboard. For larger areas of damaged plaster, or plaster that sounds hollow over a wide area, a plasterer is the right call. A skim coat over a whole wall is a professional job, and a good skim is cheaper than repeated filling and sanding of a wall that was never sound.
Once filling is done and sanded, dust the wall down with a dry brush or a barely damp cloth, and apply a mist coat if you are painting new or bare plaster. A mist coat is emulsion paint thinned with water, usually about 10 to 20 percent water depending on the paint manufacturer’s instructions, and it seals porous plaster so the top coats go on evenly. Skipping the mist coat is a common cause of paint peeling off new plaster in sheets. If the wall has been sealed with a primer after plasterboard repair, follow the primer manufacturer’s instructions instead, and do not mist coat over a sealed surface unless the product tells you to.
Then paint in the normal way: cutting in at the edges first, then rolling the main area, with two full coats for an even finish. If you are papering again rather than painting, the preparation is similar, but the wall needs to be fully smooth and, for most papers, sized with a diluted paste or a lining paper first, so the new paper can be removed cleanly next time. Our guide to wallpaper and plaster repair tips covers the repair side in more detail, and our guide to raising your home’s value with a fresh coat of paint covers the painting decisions that follow a strip, including colour and finish choices that help a room feel larger and brighter.
The test of a good strip is not how fast it was done. It is how little repair the wall needed afterwards. A wall stripped slowly, with the right method for its paper type, usually needs only a few fills and a mist coat before it is ready. A wall stripped fast, with a sharp scraper and dry paper, usually needs a plasterer. The extra hour spent soaking is almost always cheaper than the repair it prevents.
Frequently Asked Questions
Can I remove wallpaper without a steamer?
Yes, for most papers. Peelable paper often needs no water at all, and traditional paper usually comes off with soaking alone. A steamer is worth buying or borrowing for vinyl, painted-over paper, woodchip or multiple layers, where soaking alone is slow. It is a time saver, not a requirement for every job.
How do I remove wallpaper without damaging plasterboard?
Pull slowly at a low angle, use the scraper flat against the wall, favour soaking over prolonged steaming, and keep a steamer moving rather than holding it in one place. If the plasterboard paper face tears, let it dry, seal it with a suitable primer, fill the rough edge and sand lightly. Do not paint directly onto torn, unsealed gypsum.
Do I need to score vinyl wallpaper before removing it?
Yes, unless the vinyl face peels away cleanly on its own. Water cannot pass through vinyl to reach the paste, so the face must be removed or lightly scored first. Score lightly, just enough to break the vinyl surface, and test a small area to make sure you are not cutting into the plaster.
Why does my wallpaper keep tearing into small pieces?
It is almost always because the paste is not soft enough yet. Re-soak or re-steam the section and wait longer before scraping. Dry paper tears. Fully softened paper lifts in sheets. Also check whether you are working in sections that are too wide and drying out before you reach the far side.
How long should I wait before painting after removing wallpaper?
Let the wall dry fully, usually 24 to 48 hours after washing off the paste, longer in winter or in a room with poor ventilation. Fill and sand first, then mist coat bare plaster before top coats. Painting a damp wall causes blistering and peeling, so do not rush this step to meet a weekend deadline.
What should I do if I find damp or mould under the wallpaper?
Do not just paint over it. Wash off surface mould with a suitable mould cleaner, ventilate the room, and work out where the moisture is coming from. Condensation, rising damp and penetrating damp look similar but need different fixes, and painting over an active damp problem only hides it until the new paint fails.
Is it cheaper to strip wallpaper myself or hire a decorator?
DIY costs little beyond a scraper, a steamer at about £25 to £45 to buy, and your time, but woodchip and multi-layer rooms take far longer than expected. Professional removal typically costs about £300 to £600 per room according to MyJobQuote’s October 2026 guide. If the wall is damaged, in a period property, or covered in woodchip, a professional quote is worth getting before you start.