
Wallpaper and Plaster Repair Tips for Every Home
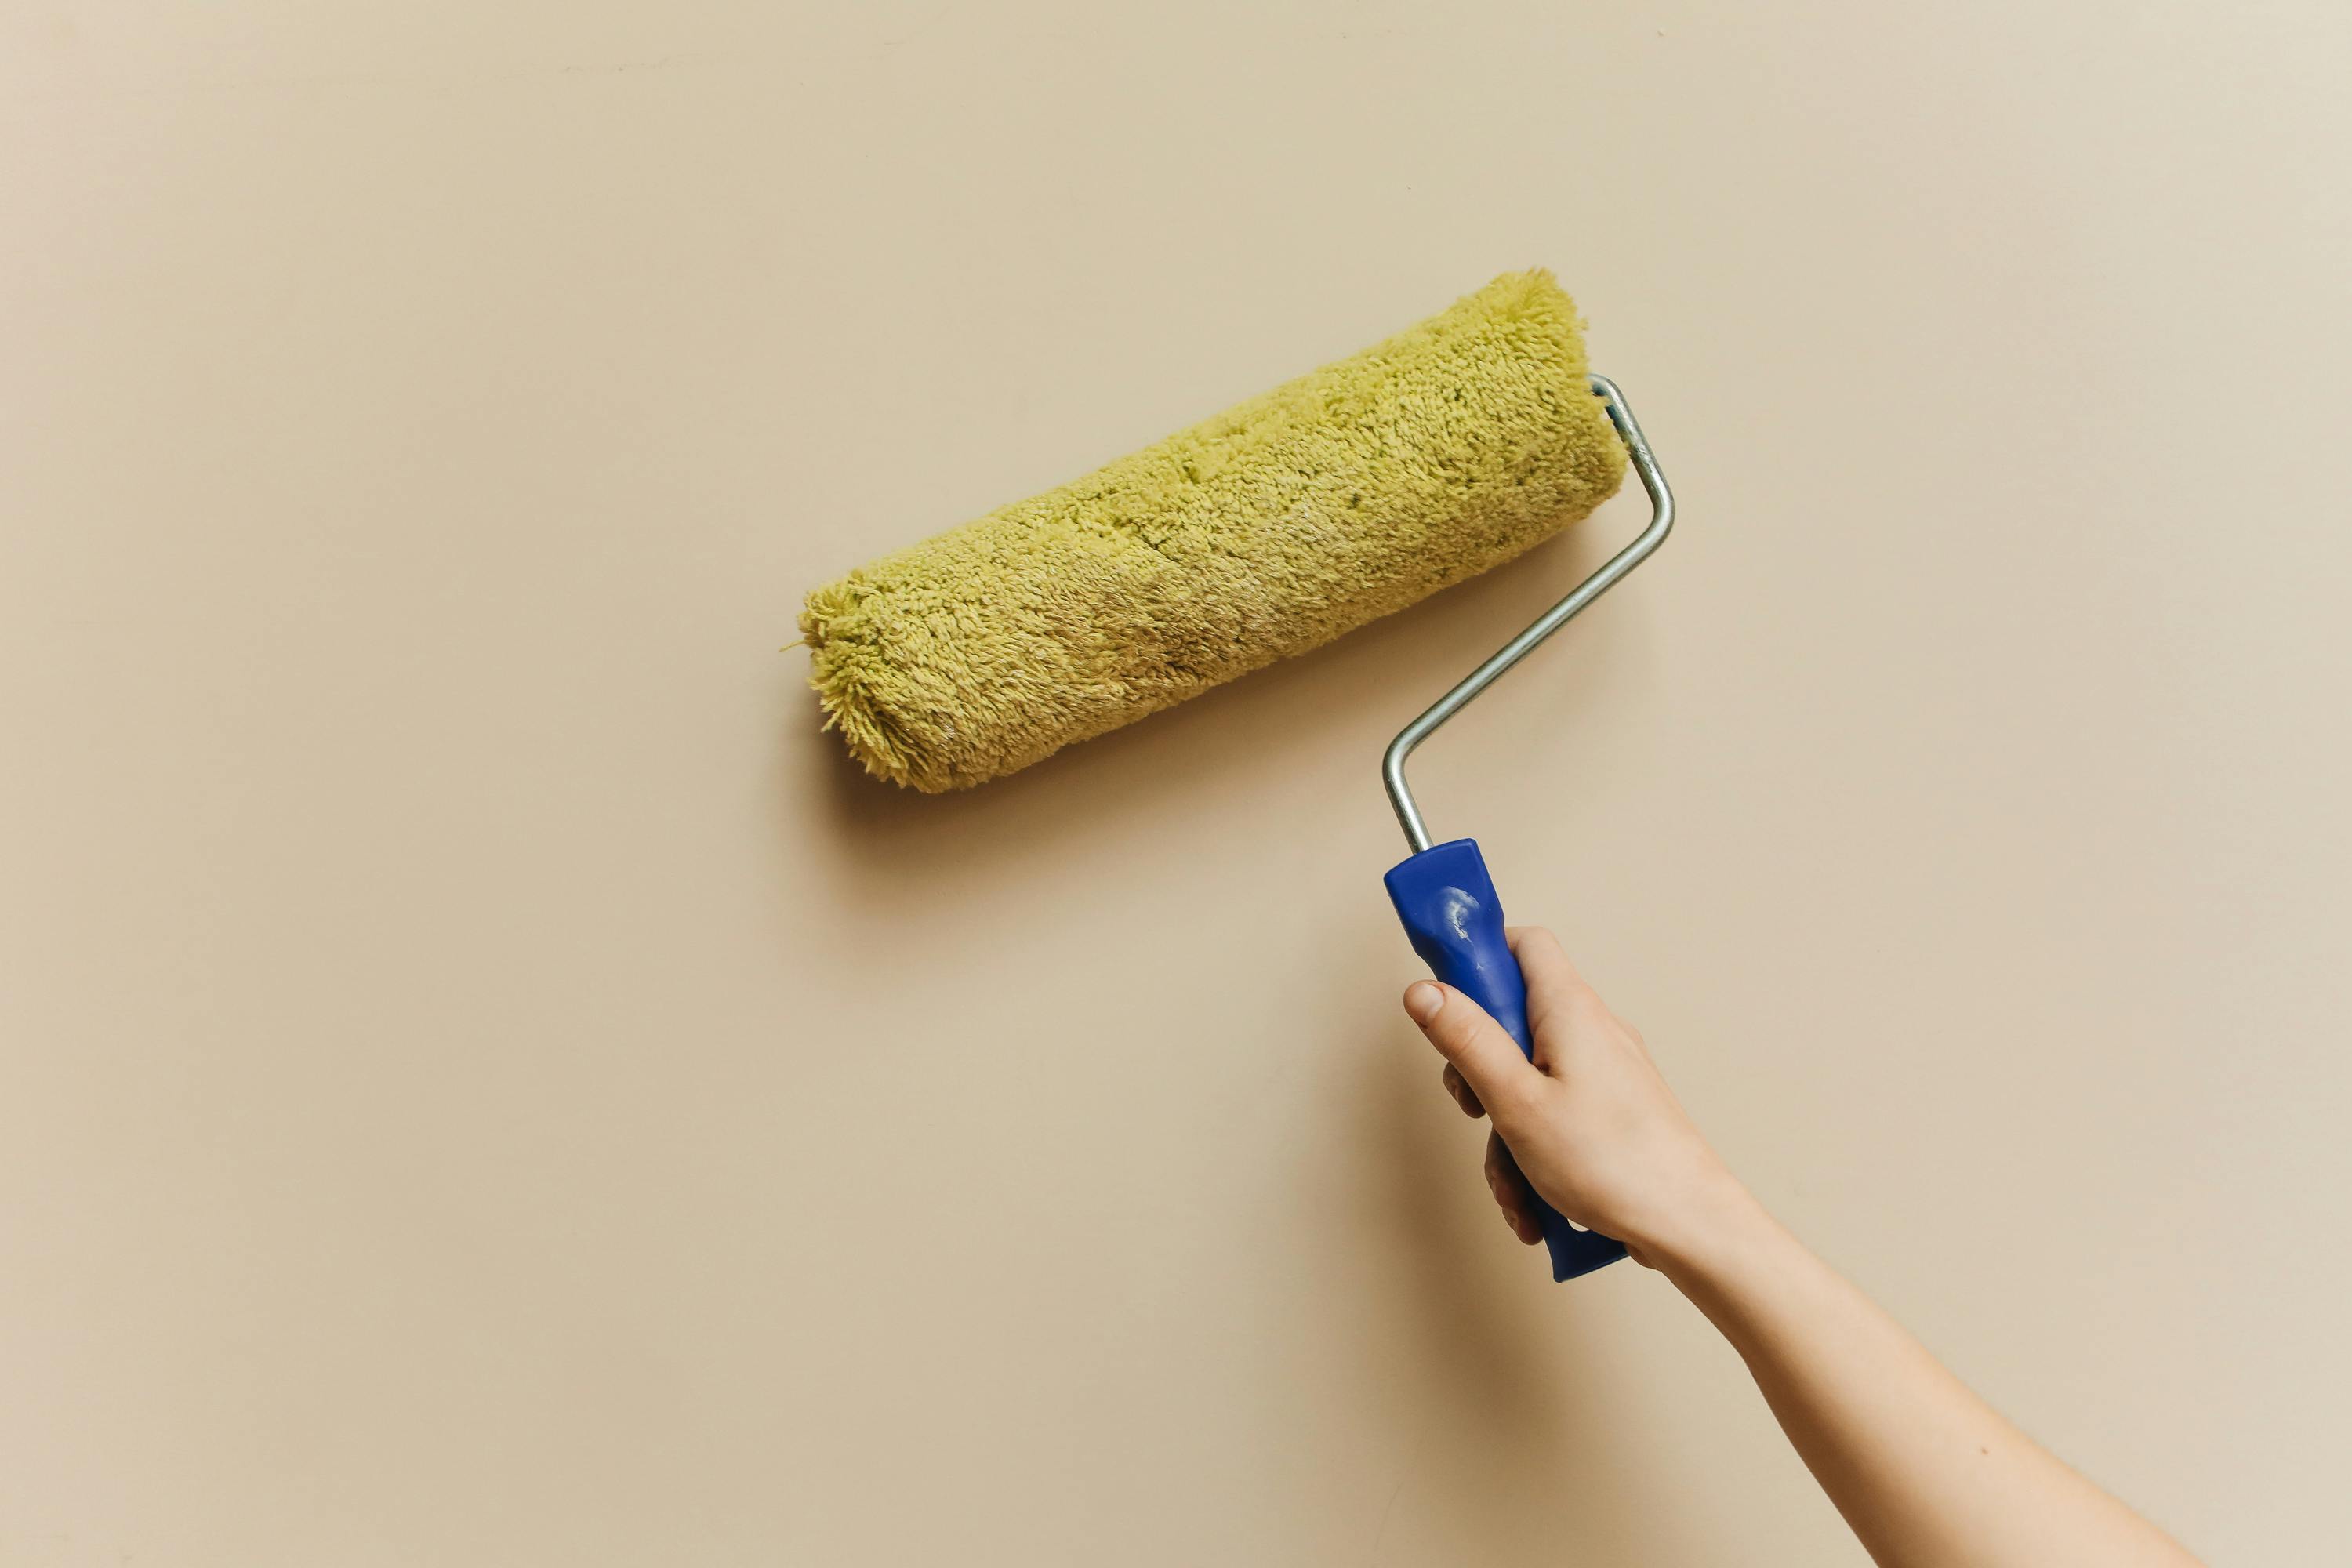
Whether you are hanging new wallpaper, patching up cracked plaster, or simply trying to remove a stubborn mark, these tried-and-tested tips cover the most common wallpaper and plaster problems found in homes.
Removing Wallpaper
Soaking Method
Soak the wall using a paint roller dipped in hot water. After two applications, most paper will begin peeling away in full sheets rather than small, frustrating scraps.
Vinegar Method
Wet the paper thoroughly using a sponge dipped in equal parts white vinegar and water. The mild acidity helps break down old wallpaper paste more effectively than water alone.
Hanging and Finishing New Wallpaper
Smoothing Out Bubbles
Once new paper is hung, run a clean paint roller firmly over the surface to smooth out air bubbles before the paste sets.
Preventing Grease Spots From Showing Through
Before repapering, cover any greasy patches on the wall with shellac. This seals the area and stops grease bleeding through the new paper over time.
Papering Bathrooms and Steamy Rooms
After papering a bathroom or other steamy room, paint over all the joints with a clear shellac or varnish to help prevent the edges lifting or peeling in humid conditions.
Matching Wallpaper Patches Invisibly
When tearing a patch of wallpaper to match a pattern, always tear towards the back of the paper rather than the front. The torn edge sits flush and becomes far less noticeable once in place.
Removing Marks From Wallpaper
Finger Marks
Rub the mark gently with a chunk of soft, stale bread, using even up-and-down strokes rather than circular scrubbing.
General Smudges
Dampen the area slightly, dust with fuller’s earth, allow it to dry fully, then brush off. This lifts light surface grime without soaking the paper.
Crayon Marks
A dry, soap-filled steel wool pad, rubbed very lightly, can lift crayon marks without damaging most wallpaper finishes. Test on a hidden area first.
Grease Spots
Rub talcum powder onto the mark with a soft cloth or powder puff, repeating as needed until the grease has been absorbed and the spot fades.
Hair Oil Marks
Rub chalk or a small amount of milk of magnesia onto the spot, leave for 24 hours, then dust off.
Ink and Similar Stains
Dampen the spot slightly, then rub with white chalk. Allow to dry fully before brushing away the residue.
General Spot Removal
Cover the mark generously with French chalk, available from most chemists, and leave for 24 hours before wiping away with a soft cloth. Alternatively, place a blotter over the spot and press gently with a warm iron to lift residue directly into the blotter.
Fixing Wrinkled Fabric-Covered Walls
Lightly mist the fabric with water. As it dries, most minor wrinkles will naturally relax and disappear.
Removing Sticky Tape
Press a warm iron briefly over cellophane tape to soften the adhesive, then peel it away cleanly.
Plaster Repair Tips
Fixing Hairline Cracks
Mix household glue with baking soda to form a paste and apply it to fine cracks. This is a genuinely useful stopgap that can delay the need for a full re-plaster.
Neat Small Repairs
Apply plaster to small holes or cracks as normal, then brush lightly over the area with a wet paintbrush before it fully sets. This smooths the surface and removes excess plaster without extra sanding later.
Repairing Larger Cracks
Pack larger cracks with steel wool first, then fill over the top with plaster or plastic wood filler for a stronger, longer-lasting repair.
Mixing Lump-Free Plaster
Always add plaster to water, not water to plaster. Mixing in this order consistently gives a smoother, lump-free result.
Slowing Down Plaster Setting Time
A small amount of vinegar added to the plaster mixture slows the setting process slightly, giving you more working time on larger repairs.
General Wall Cleaning Tip
Cleaning Textured or Rough Walls
Use old nylon tights or stockings, bunched into a pad, to clean rough or textured wall surfaces. They glide over texture without shredding the way cloths or sponges often do.
Frequently Asked Questions
What is the easiest way to remove old wallpaper?
Soaking the paper thoroughly, either with hot water or a vinegar and water solution, then allowing a few minutes for it to soften before peeling, is generally the most effective DIY method.
Why does my plaster need to be mixed in a specific order?
Adding plaster powder to water, rather than water to plaster, consistently produces a smoother mix with fewer lumps, since it allows the powder to hydrate more evenly.
Can small plaster cracks really be fixed without professional help?
Yes, hairline cracks and small holes are generally well within reach of a confident DIYer. Larger structural cracks or widespread damage are worth having assessed by a professional.
About the author: This guide was written by the Routen House editorial team.